
|

|

|

|
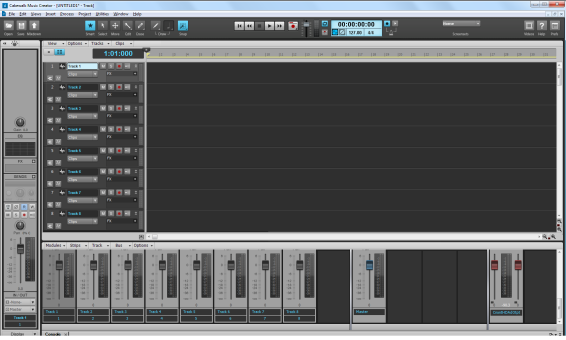
In Tutorial 1, you learned about opening project templates. Let's use the Normal template for this tutorial:
if you want to hear the input during recording. Many sound cards and audio interfaces have an option to do this automatically at the hardware level. If you can already hear the input signal, simply move on to the next section.
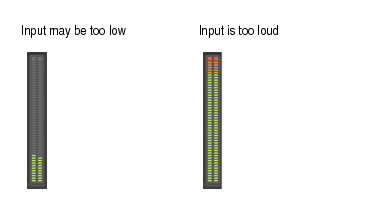
If the meter never even comes close to the maximum, increase the input level. If the meter even occasionally reaches the maximum, decrease the input level. Input levels are usually adjusted via a knob next to the input jack on the sound card. However, features like this may vary slightly between devices. If you have never recorded an instrument or microphone with your sound card, you may want to read about doing so in the device's manual. The following figure shows examples of input being too low or input being too loud or “hot”.Figure 53. The record meter shows the input level
. Again, if you don't arm a track, Music Creator will not know where to record the audio and the transport Record button will be disabled.
Tip - Searching Documentation
Tip: To search for a specific topic, type your search query in the Search Cakewalk.com field at the top right of this page.
When the search results appear, click which product's documentation you would like to search to filter the search results further.
Note - Using Offline Help
Note: If you prefer to always use offline Help, go to Edit > Preferences > File > Advanced in your Cakewalk software and select Always Use Offline Help.
If you are not connected to the internet, your Cakewalk software will default to showing offline help until an internet connection becomes available.